오늘은 아두이노를 이용해 NeoPixel을 건드려보겠습니다.
NeoPixel은 Adafruit에서 나온 LED제품으로 간단하게 코딩으로 LED의 RGB/RGBW를 조절할 수 있는 LED 모듈입니다.
참고영상:youtu.be/HO6xQMR8naw
용도에 따라서 Stick, Ring, Board 등 여러가지 타입으로 존재하고 자유롭게 연결하여 사용가능합니다.
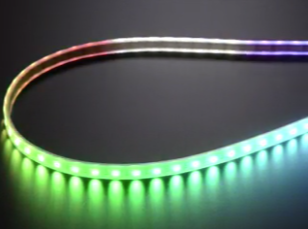
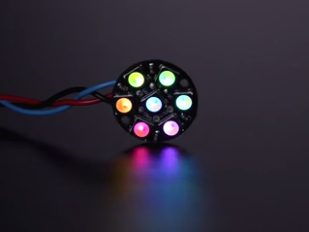
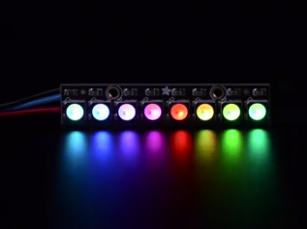
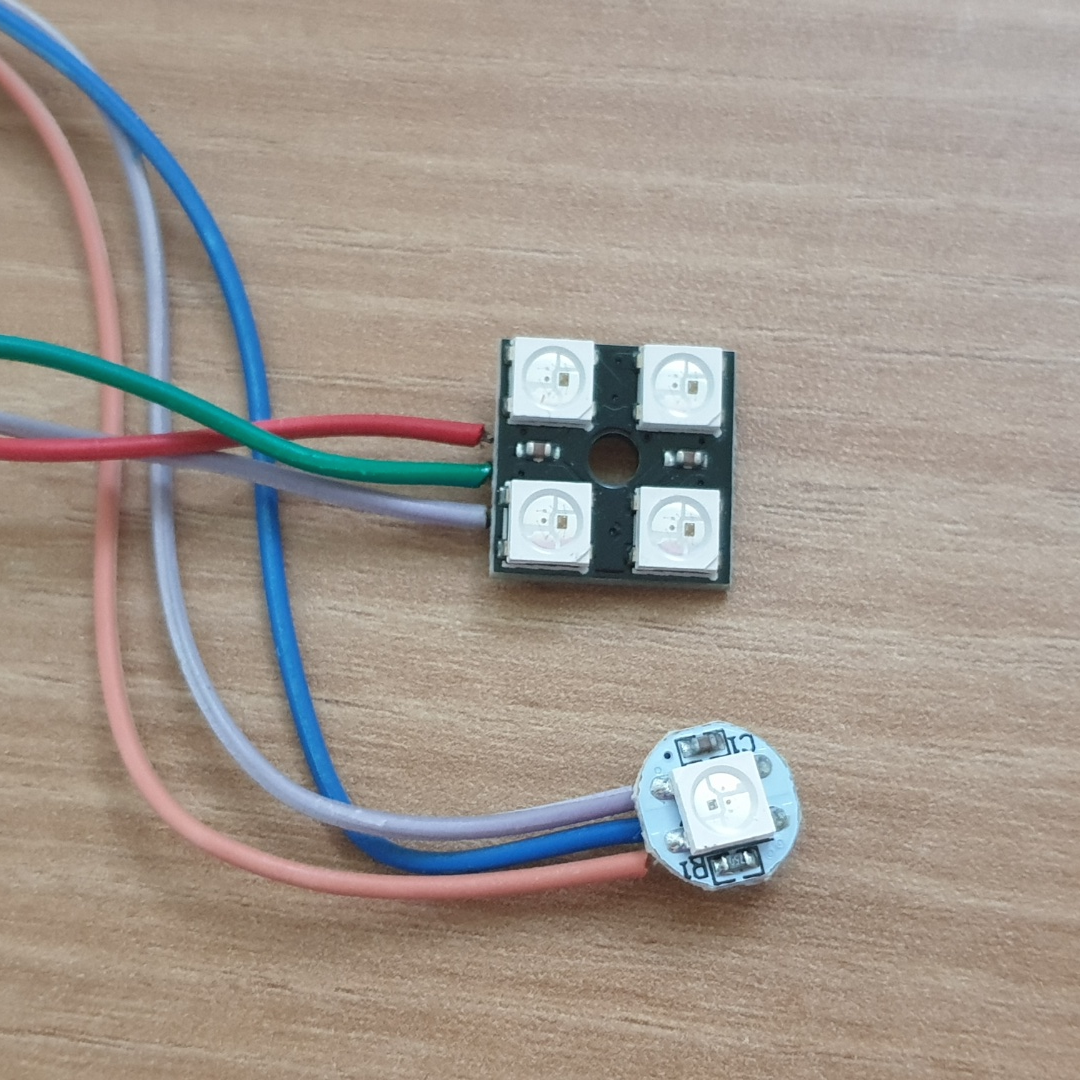
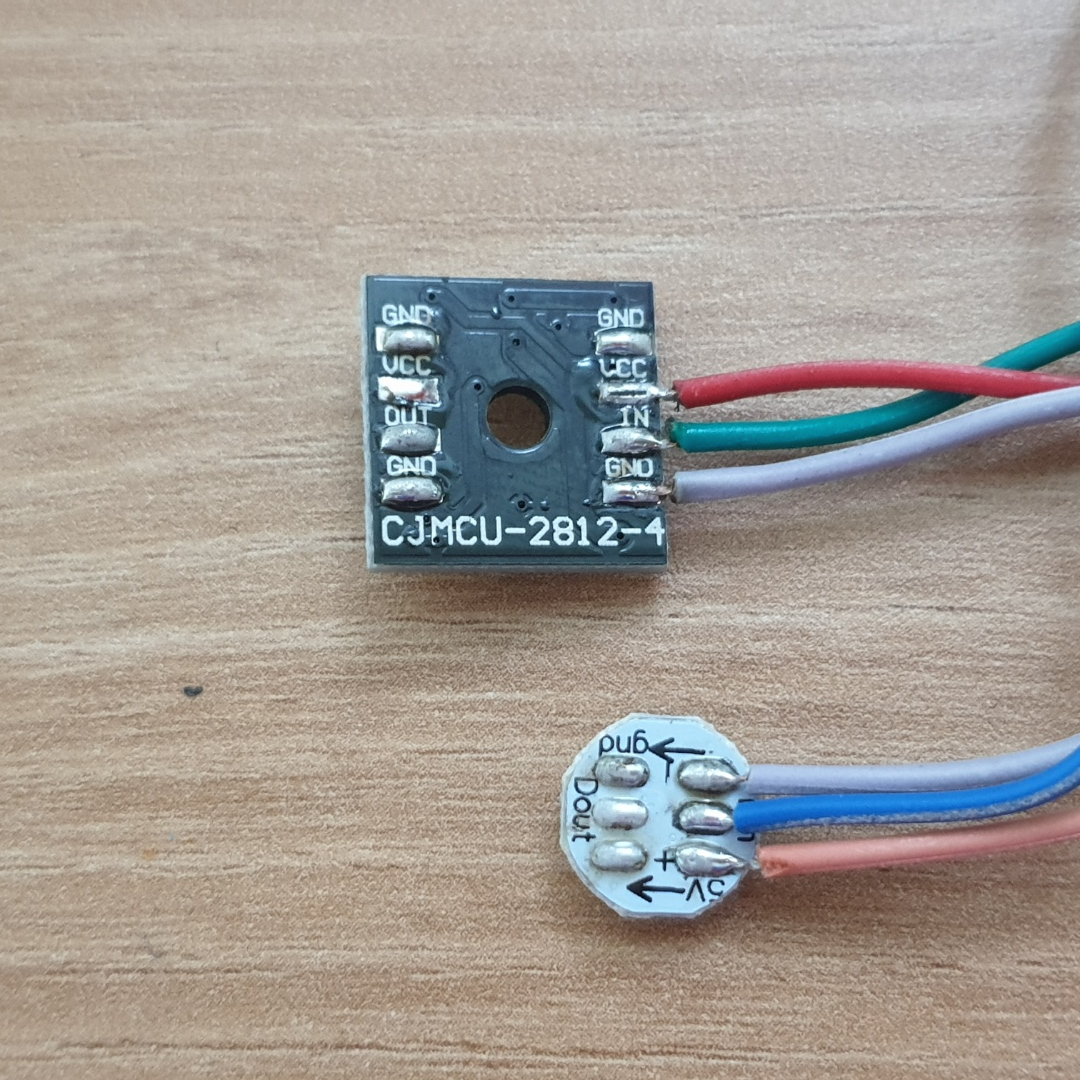
내가 사용할 네오픽셀의 모습입니다. 1구짜리와 4구짜리가 있으며 모듈에 VIN, Din/Dout, GND를 통해 다른 네오픽셀과 연결할 수 있습니다. Din -> Dout -> Din 순서대로 선을 연결해야 정확한 제어가 가능하다.
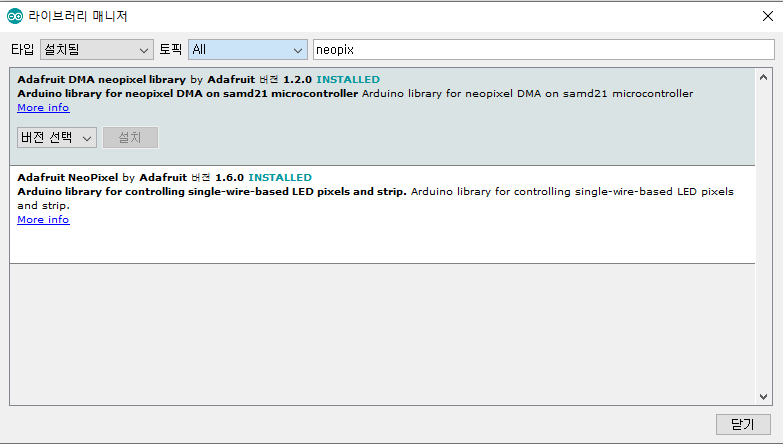
네오픽셀을 제어하기위해 Adafruit_NeoPixel 라이브러리가 필요한데 Github(github.com/adafruit/Adafruit_NeoPixel)에서 다운받아 추가하거나 아두이노 라이브러리 매니저에서 검색으로 설치가능하다.
라이브러리 설치후 예제 코드로 실행 가능
예제코드
|
1
2
3
4
5
6
7
8
9
10
11
12
13
14
15
16
17
18
19
20
21
22
23
24
25
26
27
28
29
30
31
32
33
34
35
36
37
38
39
40
41
42
43
44
45
46
47
48
49
50
|
// NeoPixel Ring simple sketch (c) 2013 Shae Erisson
// Released under the GPLv3 license to match the rest of the
// Adafruit NeoPixel library
#include <Adafruit_NeoPixel.h>
#ifdef __AVR__
#include <avr/power.h> // Required for 16 MHz Adafruit Trinket
#endif
// 아두이노에서 네오픽셀로 연결될 핀번호
#define PIN 6 // On Trinket or Gemma, suggest changing this to 1
// 연결될 네오픽셀의 개수
#define NUMPIXELS 16 // Popular NeoPixel ring size
// When setting up the NeoPixel library, we tell it how many pixels,
// and which pin to use to send signals. Note that for older NeoPixel
// strips you might need to change the third parameter -- see the
// strandtest example for more information on possible values.
Adafruit_NeoPixel pixels(NUMPIXELS, PIN, NEO_GRB + NEO_KHZ800);
//네오픽셀 사용을 위한 객체 생성 #define DELAYVAL 500 // Time (in milliseconds) to pause between pixels
void setup() {
// These lines are specifically to support the Adafruit Trinket 5V 16 MHz.
// Any other board, you can remove this part (but no harm leaving it):
#if defined(__AVR_ATtiny85__) && (F_CPU == 16000000)
clock_prescale_set(clock_div_1);
#endif
// END of Trinket-specific code.
pixels.begin(); // INITIALIZE NeoPixel strip object (REQUIRED)
}
void loop() {
pixels.clear(); // Set all pixel colors to 'off'
// The first NeoPixel in a strand is #0, second is 1, all the way up
// to the count of pixels minus one.
for(int i=0; i<NUMPIXELS; i++) { // For each pixel...
// pixels.Color() takes RGB values, from 0,0,0 up to 255,255,255
// Here we're using a moderately bright green color:
pixels.setPixelColor(i, pixels.Color(0, 150, 0));
pixels.show(); // Send the updated pixel colors to the hardware.
delay(DELAYVAL); // Pause before next pass through loop
}
}
|
실행결과
'연구노트 > 아두이노' 카테고리의 다른 글
| 아두이노 Neopixel 네오픽셀 예제 분석!(colorWipe, theatherChase, rainbow, theatherChaseRainbow) (1) | 2020.12.29 |
|---|---|
| 아두이노와 AM2315 온습도 측정!(I2C 통신, AM2315 온습도 센서) (0) | 2020.12.11 |
| 아두이노 가변저항 사용하기!(analogRead(), analogWrite(), map()) (0) | 2020.12.09 |